Editing Instruments & Vocals
Currently, I am still in the process of editing the vocal and instrumentation. Focusing on the vocal, I have added effects such as a reverb plug in. This is so that they stand out within the mix. I have also bused the vocals to bus 6 and 10, this is so that all instrumentation and vocals are bused to the same reverb so that it sounds as if they are all in the same space, and as stated by Mayzes (2018) ‘This puts it all in the same space, making your track sounds more cohesive and natural’.
Pitch correction has also been added to the vocals which fits the genre of 90s Dance Pop more specifically due to the dance aspect of the song. Below demonstrates the various effects that have been used in my song on each instrument and vocal. Effects such as Tape delay and Exciter have been used on my vocal to also make them stand out within the track.
Compressing Vocals
Using a compression was a particular important aspect within this editing stage of the vocals. Senior (2012, p.159) states that ‘Use an initial layer of gain reduction to even out overall levels-soft-knee 2:1/3:1 compression with moderate attack and release times is likely to work best’. I took this info on board and looked further into the best settings when compressing vocals. Mayzes (2019) suggests to use these settings to create ‘Light Tonal Compression’:
- ‘Ratio: 1.5:1’
- ‘Attack Time: 15ms (but up to 30ms for more punch)’
- ‘Release Time: 40ms’
- ‘Threshold: -24dB’
- ‘Gain Reduction: 2-3dB’
- ‘Knee: Soft’
- ‘Makeup Gain: 2dB’
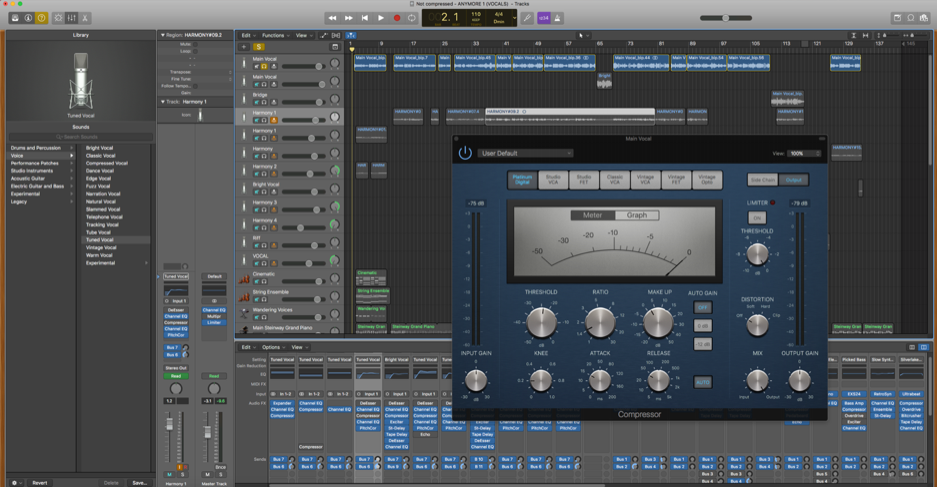
I have used these settings for the vocals and I believe that they have worked efficiently in causing them to be brought out even more so with the reverb.
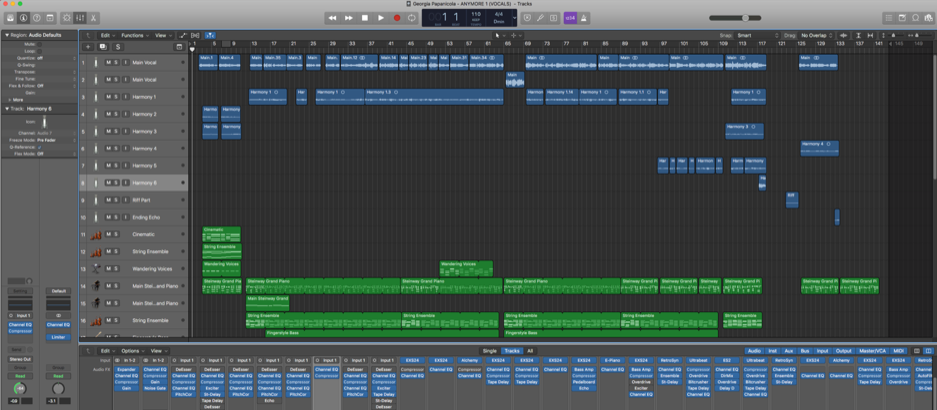
Looking at the instrumentation, I wanted to focus on making sure that everything was tidy and sounded tight within the piece. In this case, focusing on the piano notes and adjusting the note durations to fit within the song was an important aspect of this. I also needed to ensure that all other effects were working correctly. For instance, the tape delay plugins were not working correctly due to the wet and dry outputs being wrong. The wet output were previously at 0% and the dry output was on 100%, this caused the delay to only be dry. I then changed this by adding more wet to the desired instruments.
What Next?
My main aims during the final stages of editing, is to listen to the track through both speakers and headphones to ensure that everything is perfect in how it sounds. It is also important to look at all of the settings such as the buses to ensure that they are working correctly.
Reference List:
Mayzes, R. (2018). https://www.musicianonamission.com/make-instrument-and-vocal-sit-in-the-mix/
Mayzes, R. (2019). Musician On A Mission. Available at: https://www.musicianonamission.com/vocal-compression-how-to-compress-vocals/ [Accessed May 6th].
Senior, M. (2012). Mixing Secrets. Burlington: Taylor & Francis.
